Finally, we have come to the conclusion of this 3 part series. This part focuses on user interactions and functionality of our portfolio. The upper sections of the page I will take you through inserting several plugins as well as custom jQuery code that will make our page alive. This includes a rotating slideshow, expanding and hiding sections and a modal view of images – also known as a “lightbox” effect. And to wrap it all up, we will add a small PHP snippet into our footer so we will have a working contact form.
View the Demo:
This tutorial is part 3 of three parts: 1) the Photoshop Mock up, 2) Coding the HTML / CSS and finally 3) Adding PHP / jQuery.
Are you ready to get your hands dirty? Let’s start coding:

Convert the Feature into a jQuery Powered Slideshow:
Our feature section looks good as it is. Though it would be better if the large image on the right would change and cycle through other images. In other words, we need to convert it into a slideshow of our best work.
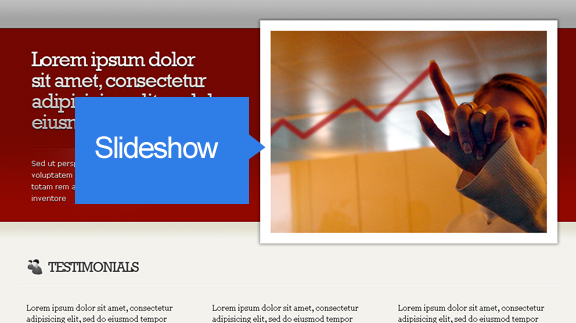
Adding the Script Files
First thing we need to do is download jQuery. jQuery will be powering all of the javascript we’re using for our page. Head on to http://jquery.com/, download and save it into our current directory.
Inside the head section of our HTML, insert our script tag. Now all of jQuery’s magic is in our fingertips. Download the slideshow plugin from: http://jquery.malsup.com/cycle/. Right below our first script tag, insert directly below:
Getting the images ready:
Now that our scripts are intact, let’s get our images and our stylesheet ready so the animation will take place. Open feature.png in Photoshop and create new guides as shown below. Make sure you cut right down to the pixel.
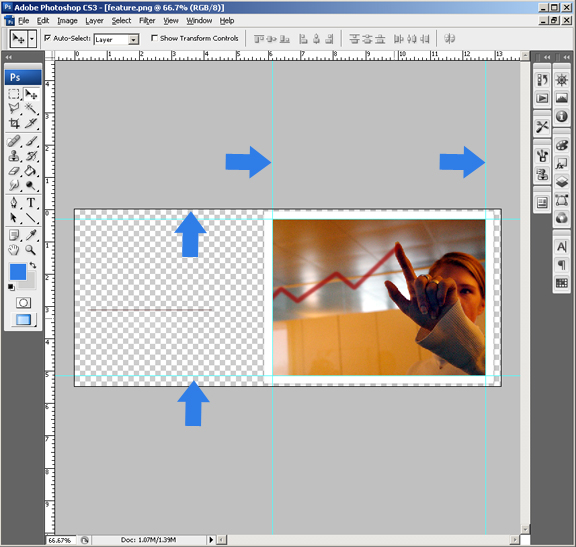
Cut out the center image and fill with solid color.
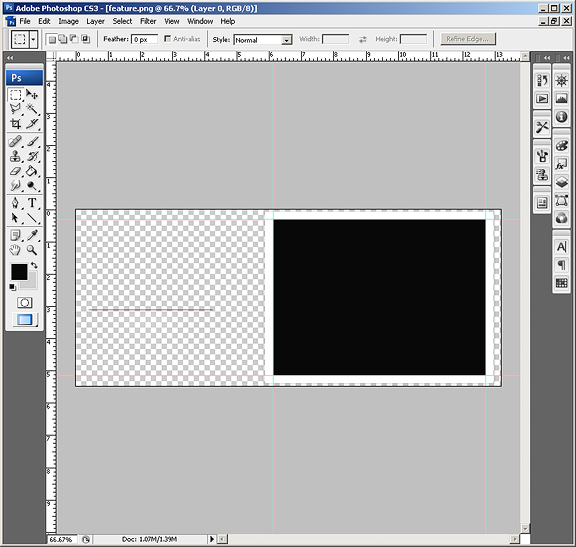
Save the file under the same name.
Create several images that will go inside the slideshow – all must have the same dimensions – in our case: 476 pixels and 349 pixels.
Insert the HMTL right below the feature div. Of course you will replace the image names with your images, along with the right path:
Append this code inside your existing style.css file:
This ensures that the slideshow will sit on top of the designated box in the feature div:
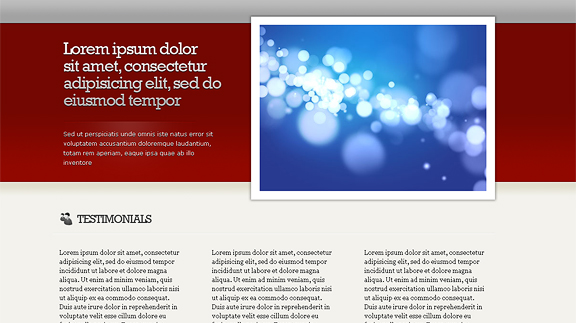
Preview index.html in your browser. By now you should see your new slideshow swapping your images in your feature section:
Next up: The expanding sections, and the “lightbox” effect.
Adding the “More” click events on the sections below the fold:
We have two sections below the fold that showcase what our work is all about. One is the useful “Testimonials” section – where visitors read what others are saying about our services. And of course, the “Previous Work” area – where you plug in screenshots of work that you’ve done. This may be websites, photographs, software; anything that can be screen captured you can apply.
The point is to only show a few of testimonials, and a few thumbnails of your previous work. When visitors click on the “More” buttons, the section expands to show the rest.
This approach is also best for people who have plenty of work, but only would like to show a little at first.
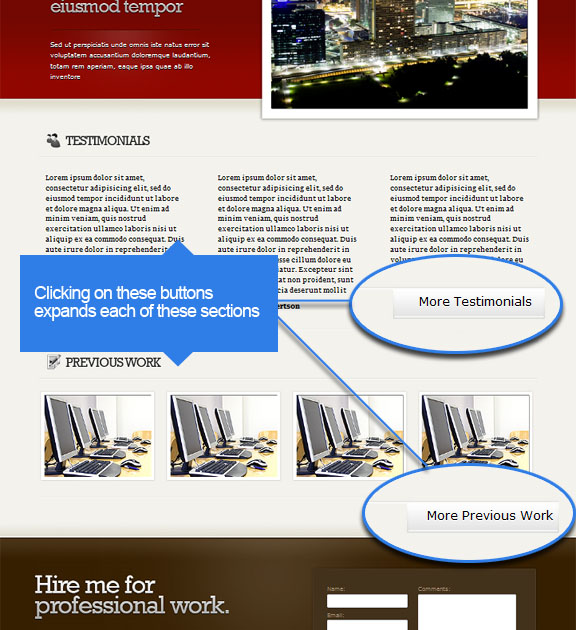
Insert the code below inside the $(document).ready function:
The above code first hides our testimonial DIVS (that are greater than 3) and our previous work list items (that are greater than 4). Then it alters the HTML of our buttons, as well as toggle our hidden sections to appear while sliding slowly.
Adding the light show effect for the Portfolio gallery:
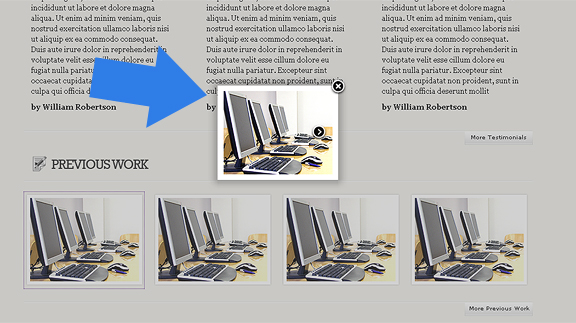
For the portfolio thumbnails – it would really be nice to add a “lightbox” effect once the images are clicked. Lightbox provide a way for viewers to see the detailed image without physically leaving the page. For our portfolio – we’re using http://fancybox.net/
Download: http://fancybox.googlecode.com/files/jquery.fancybox-1.2.6.zip
Extract the files and copy the folder “fancybox” from the unzipped file and place in the root folder of our portfolio. Inside index.html, place the code in the head section:
In our un-ordered list of thumbnails, insert this “class” and “rel” attributes for each anchor tag. Refresh index.html in your browser and click a thumbnail. You should now see the effects of Fancy box from your portfolio:
Last step: The contact form.
Completing the Contact Form with PHP
Since HTML and javascript doesn’t support contents of a form to be sent through email, we need a little help from PHP to bring our contact form to life. We are now working with server side technology, so won’t be able to test our file without a web server. So in order to test our code, upload your file to your web host or run apache locally using WAMP or MAMP.
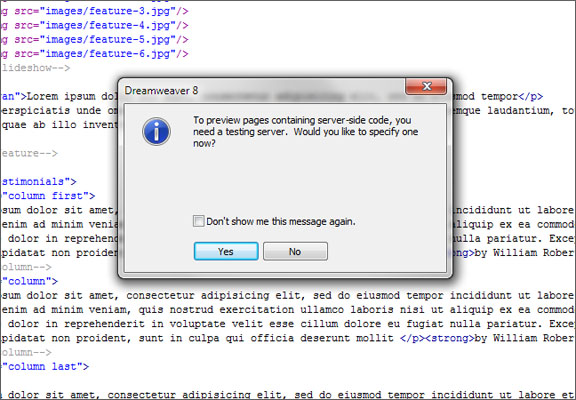
First thing we have to do is change the extension of index.html to .php. We will be working with the .php file from now on. You can discard the .html version – or keep it for archive.
Look for the form tag inside index.php; add a method “post” and an action attribute.
This enables our form to use the $_POST array and be processed by the same page. To test the contents of our post array, type the following code right above the form:
Now, add some stuff to the form fields, click “Submit” and see what our pre tags have spitted out:
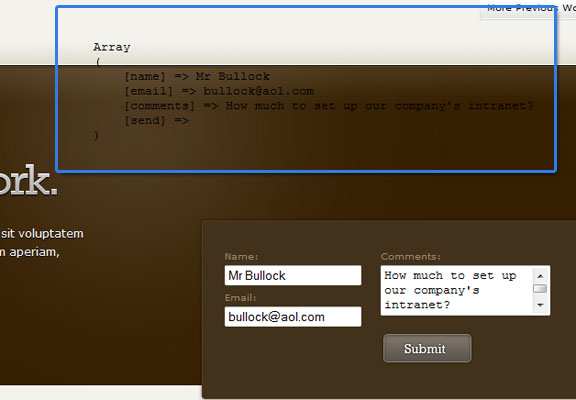
Now we know what we need to work with as far as the contents of our post array. We can now remove the pre tags and continue to work on our code. Add the following code on the very top of the page (even before the !DOCTYPE declaration):
What the above code is doing:
- Checks to see if the “submit” button has been clicked by checking if an array key by the name of “send” exists. If it does, the rest of the code executes:
- We’re creating several variables that we can work with – this includes $to – email address to send to, along with the contents of the post array
- We’re compiling the message by concatenating the variables we’ve created
- Finally, the “mail” function which is what allows you send mail
Now it’s time to test the code. Enter your email address into the $to variable then upload index.php to your web server. Fill out the form fields and click “submit”. You should receive an email similar to below:
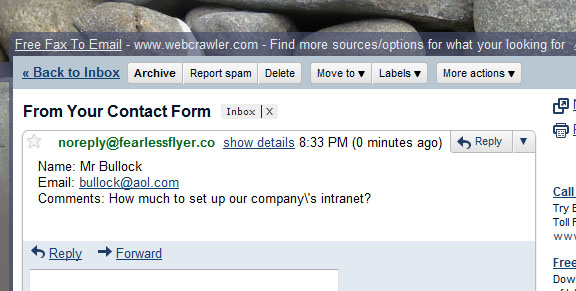
Now remember that this is a stripped down version of a contact form. You should seriously consider adding several things such as form validation and formatting the entries for safe and legitimate values. Also add error and success messages to let the user know what’s going on. (I won’t cover such things because as you can see – this tutorial has gone waaay too long).
Final Words
There you have it – a complete single page portfolio. We started all the way from scratch: Mocked up the concept in Photoshop, hand coded the HTML, while slicing the images and writing the CSS. We’ve added some jQuery magic as well as a little bit of PHP functionality. As you see – a lot of work does go into it (and that’s just a single page!)
In closing, I hope that you may learn something from this 3 part series. I also would like to thank the script and plugin developers which I included in this tutorial. You can download the finished product from this link, and of course view the live demo from here.


gr8, gonna try this one!
Excelente tutorial y grandioso trabajo. No acostumbro comentar en internet pero creo que te lo mereces. Muchos saludos desde Venezuela
wonderful work, thanks for sharing
the reply comment form could have been better. Its so slow, try use ajax
These steps are so helpful!
I used them as a guide to design my one page portfolio!
http://creativeglofish.com
Thanks
Tim
Glad to be of some help. Great portfolio you got going there!
Here a Single-Page Portfolio very cool take a look: http://www.dreamincoloronline.com/design-code-cool-single-page-portfolio-part1/
first time ever to see a real tutorial on how to make a web page,
must do it 🙂
wonder if you will take a step forward, and teach us how to turn it in a Word-press theme – landing page !
i would love to learn that 😛
Thanks for sending out the emails. It is documented well and easy to read.
wonderful work, thanks for sharing.. can you please post an article regarding complete and secured user management(membership) using php, mysql and jquery…
awesome…tutorial..i just learning this single page creation…
Thank you so much…
The javascript is missing a few closing tags
We absolutely love your blog and find the majority of your
post’s to be what precisely I’m looking for. Would you offer guest writers to write content in your case? I wouldn’t mind composing a post or elaborating on many of the subjects you write about here. Again, awesome web site!
Good day! I simply want to offer you a big thumbs up for your excellent information you have got right here on this post.
I will be returning to your website for more soon.
You are AWESOME!, its like you knew what i needed, your like an angel from above, i love you, your like my new best friend and i will follow you like a disciple on facebook and twitter.
Start following you on facebook i really want to miss any more tuts
Thank you for your valuable information about the single page portfolio use of jquery and php keep update the useful information like this