So I had a recent task of designing an infowindow for a Google map. Just in case you do not know, Google maps API has the ability of overlaying some HTML on top of a marker, also known as an “infowindow“.
The problem is, the default infowindow has limited options for HTML styling.
The default infowindow looks like below:

You can only style the inside of the window. We need a bit more flexibility and style the entire window.
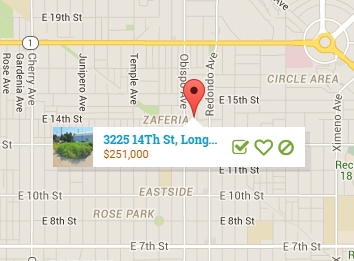
Thankfully there’s this plugin called “Infobox“. With InfoBox, you can style the entire window by simply passing a few parameters. In my case, I need to make the window look like below:

Ready to get started? Let’s start by adding our script to InfoBox. Note that if you’re loading Google Maps asynchronously, you need to add your script in your callback method.
var initMap = function() {
  var s = document.createElement("script");
  s.type = "text/javascript";
  s.src = "js/infobox.js";
  $("head").append(s);
  var map = new google.maps.Map(document.getElementById('map-wrap'), {
    center: {lat: 33.78444500, lng: -118.15378000},
    zoom: 8
  });
}
Once your scripts are loaded, you should see your map, and add a simple marker like so:
var marker, i;
marker = new google.maps.Marker({
   position: new google.maps.LatLng(22.556444, -44.565),
   map: map
})
Now, InfoBox has plenty of options – so I just leave the defaults alone. What we really need is the “boxStyle” object. This we can pass our CSS as key/value pairs. This is the style of the outermost box – the box that the default infowindow doesn’t let you customize easily.
var ibOptions = {
    		disableAutoPan: false
    		,maxWidth: 0
    		,pixelOffset: new google.maps.Size(-140, 0)
    		,zIndex: null
    		,boxStyle: {
          padding: "0px 0px 0px 0px",
          width: "252px",
          height: "40px"
        },
        closeBoxURL : "",
        infoBoxClearance: new google.maps.Size(1, 1),
    		isHidden: false,
    		pane: "floatPane",
    		enableEventPropagation: false
    	};
Once that’s done, let’s create a click handler, so our InfoBox will pop out when our marker is clicked. The code below is an example of a closure. We’re only including the “non static” properties inside our closure, so you’ll notice that our “innerHTML” property is inside.
google.maps.event.addListener(marker, 'click', (function(marker, i) {
      return function() {
        var source   = $("#infobox-template").html();
        var template = Handlebars.compile(source);
        var boxText = document.createElement("div");
        boxText.style.cssText = "margin-top: 8px; background: #fff; padding: 0px;";
        boxText.innerHTML = template(subSet[i]);
        ibOptions.content = boxText
        var ib = new InfoBox(ibOptions);
      	ib.open(map, marker);
        map.panTo(ib.getPosition());
      }
  })
I am also using Handlebars for templating, so the template is compiled multiple times. Also inside click handler above, and only shows up when the marker is actually clicked. My template will look like below. Remember that I have multiple of these boxes.
<div class="info-box-wrap">
  <img src="{{img_src}}" />
  <div class="info-box-text-wrap">
  <h6 class="address">{{address}}, {{city}} {{zip}} {{state}}</h6>
  <p class="price">{{price}}</p>
</div>
<div class="action-btns"></div>
</div>
Finally, the styles. Remember, InfoBox has already done the outer shell styles. Now it’s up to us to style the inner part of our box. So simply hack away with your CSS chops:
.info-box-wrap {
  background:#fff;
  overflow: hidden;
  box-shadow: 5px 5px 0px rgba(0, 0, 0, 0.08);
}
.info-box-text-wrap {
  height:40px !important;
  width:120px;
  float:left;
  overflow: hidden;
}
.action-btns {
  float:left;
  width:70px;
  overflow: hidden;
  position: relative;
  top:12px;
  left: 6px;
}
.action-btns i {
  font-size: 18px;
  color: #78A737;
  margin-left: 3px;
}
.action-btns i:hover {
  transition: color 0.5s ease;
  color:#ccc;
  cursor: pointer;
}
.action-btns i.fa-heart-o {
  font-weight: bold;
}
.info-box-text-wrap h6.address {
  padding:6px 5px 1px 0;
  margin:0 0 0 0;
  font-family:"Roboto Slab";
  color: #0c99c8;
  font-weight: 700;
  overflow: hidden;
  text-overflow: ellipsis;
  white-space: nowrap;
}
.info-box-text-wrap p {
  padding:0 0 0 0;
  margin:0 0 0 0;
}
.info-box-text-wrap p.price {
  color:#B25B00;
}
.info-box-wrap  img {
  width:40px !important;
  height:40px;
  float:left;
  margin-right: 10px;
  padding-top:0;
  margin-top:0;
}
With the above code everything should be in place. All we need is an arrow that points back from our box to our marker.
Creating the Arrow
There is an awesome article on how to create traingles that is pure CSS. We really don’t need an image for this type of thing. Another thing, we’re going to use the ::before pseudo selector to insert our triangle. This prevents us from adding unnecessary DIVs into our markup.
.infoBox:before{
  content : " ";
  width: 0;
  height: 0;
  border-left: 10px solid transparent;
  border-right: 10px solid transparent;
  border-bottom: 10px solid #fff;
  position:absolute;
  top:-10px;
  left:130px;
}
Note the “content” property with the value of ” “. This makes it so the ::before selector is actually visible in the DOM.
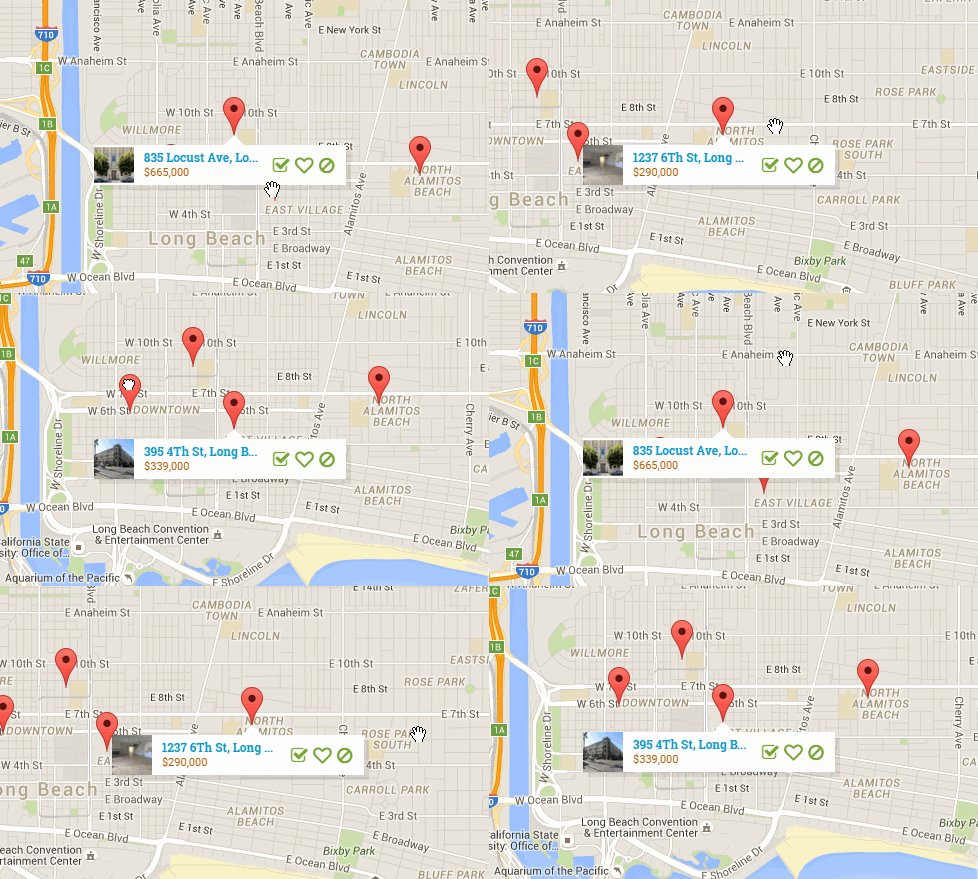
And the final result looks like below. Note that the map automatically centers to the marker that is clicked. That is in our click handler “map.panTo(ib.getPosition())” method.

Note that in the demo, it’s loading sample data from a text file. I’m also outputting which property is clicked on the left side.
Until next time, please leave your comments below.


Great tutorial. I like it. By the way, do you have demo files. Thanks
Hi there,
Here is an example: http://www.mediafire.com/file/7knp6burn47uu82/info-box-example.zip
Super late reply: http://demo.michaelsoriano.com/infobox/
Link to Infobox plugin doesnt work anymore – 404 🙁
Here, check this out.
https://code.google.com/p/google-maps-utility-library-v3/source/browse/trunk/infobox/src/infobox.js?r=49
https://www.npmjs.com/package/google-maps-utility-library-v3-infobox to include via bower
or
https://github.com/googlemaps/v3-utility-library/tree/master/infobox/src to download and include yourself
I have the original infobox file in the demo: http://demo.michaelsoriano.com/infobox/
i want to click on a link to open another set of details.
is it possible?
Yes it’s doable.
Hey there,
i can’t get it to work! I used the infoBox script form Github.
I always get the error “InfoBox is not defined”. I’m loading the GoogleMaps API asynchronously, so i tried your solution for embedding the script, but it’s not working!
I ended up trying to load both script like that:
var script = document.createElement( ‘script’ );
script.type = ‘text/javascript’;
script.src = ‘https://maps.googleapis.com/maps/api/js?key=AIzaSyD3fp45yasXmwwbFt5KCh5T2GPvewfOqtg&callback=initMap’;
document.getElementsByTagName(‘head’)[0].appendChild(script);
script.onload = function () {
var infoWindowScript = document.createElement( ‘script’ );
infoWindowScript.type = ‘text/javascript’;
infoWindowScript.src = “”;
document.getElementsByTagName(‘head’)[0].appendChild(infoWindowScript);
}
but this does not work either.
I’m calling
var infoBox = new InfoBox(infoBoxOptions);
by adding my markers in the initMap() function. Any idea, what the problem is?
Thank you!
the src property of the second script is in fact not empty, it was stripped out as I pasting it in via a PHP-echo.
InfoBox is not defined sounds like a script ordering problem. Make sure you include the infobox script before the time you call it.
Contact form not working…
Hi Michael,
We’ve gone through 3 designers trying to customize the infoWindows on our site. We’re not too technically savvy, but we do know that this job is achievable. We just keep believing that these programmers are telling us the truth – that they know how to do it – but they end up writing incomplete, fake, or disfunctional code. The language barriers don’t help, too.
Currently the windows look ‘almost’ decent, but when in tablet or mobile view they fall apart. I’ve personally suggested using infoBubbles, or trying to use Marnoto’s custom infoWindow ideas, but no one can seem to implement these.
This is the last piece of our website puzzle and we’d like to hire you to close the deal. After this task is complete, more work will be readily available. The site is an event discovery app.
Please let me know if you can join our small team, at least on a temporary basis if not more.
Thanks!
charles
Hi,
I was wondering if we add the info to that map like this, will other people be able to see the info we added with their account?
Thanks
Somvannda
hi,
I was struggling to have my infoboxes appearing under my differents markers.
I changed
ib.open(map, marker);
to
ib.open(map, this);
and it helps me out
Thanks again for having taken the time to write this out !
wrong location wrong position problem location
can u share your code ? im tried but nothing happened 🙁
super late reply. Demo is here: http://demo.michaelsoriano.com/infobox/
I use Google ‘My Business’ and I’m wondering how to customize the hover text people see when seeing maps directly from Google maps site. I’ve noticed some businesses have managed to show multi-line text, for example, but I can’t figure out how to do this.
InfoBox is dead. Do you have a new way to approach doing this with Google Maps API?
How do you add a “circled x” in one of the corners so you can close the infowidow? I like your styling.