I had the fun task to turn the default WordPress gallery into a carousel. Our users didn’t really like the grid of images, that WordPress ships with. Instead, our designers came up with something like below:
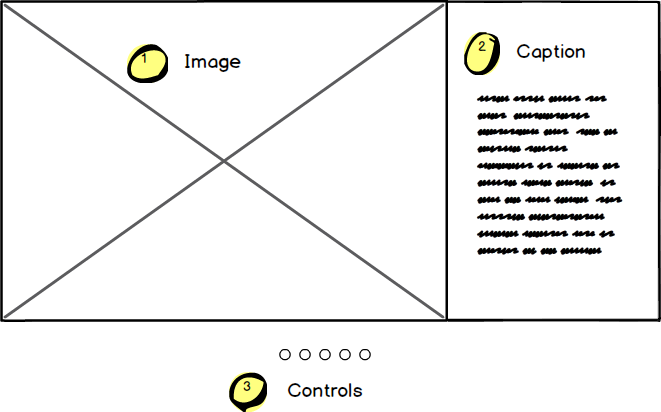
It’s basically a carousel, with the caption in a grey area in the side, along with control buttons in the bottom. When clicked, the next image is shown.
At first, I thought of using a plugin, which would’ve been fine. Except this would’ve added some level of training on how to use carousel plugins. Most of which are quite complicated to use. Besides, our users are already familiar with using the default WordPress gallery option. They just want to change the way it looks!
So the solution was to use a little bit of JavaScript and CSS. Note that this requires jQuery, Bootstrap for the grid, as well as Handlebars for templating.
Let’s begin:
First, let’s add a gallery to our page.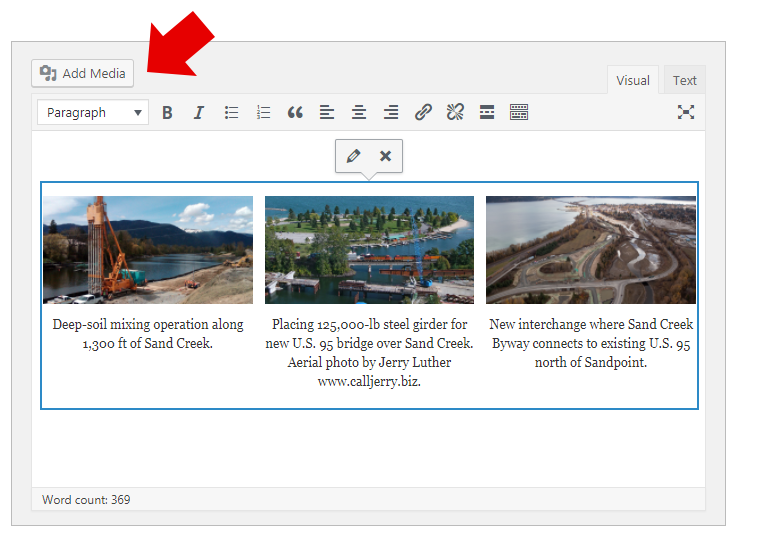
Make sure that each image has a caption to go with it:
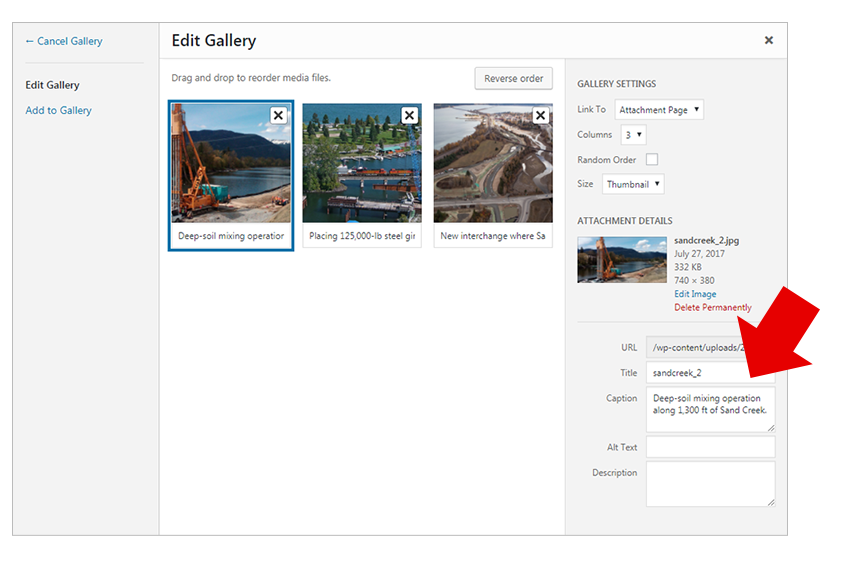
This will ouput the default gallery in WordPress. Now note that each gallery will have a “.gallery” class in them. So let’s grab all of them, and create an object with it.
var galleries = {};
    $('.gallery').each(function(i,item){
        var id = $(this).attr('id');
        var imgs = Array();
        var children = $(this).find('.gallery-item');
        $.each(children,function(){
            var imgSrc = $(this).find('img').attr('src');
            var caption = $(this).find('.wp-caption-text').html();
            var imgItem = imgSrc + "::" + caption;
            imgItem = imgItem.trim()
                        .replace(/[\n\r]+/g, '')
                        .replace(/\s{2,10}/g, '')
                        .replace('undefined','');
            imgs.push(imgItem);
        })
        galleries[id] = imgs;
    });
Now we have a “galleries” object, with the gallery id as the indexing property. This will support multiple galleries in a page, hence the index.
Inside each gallery object contains properties for the source and caption (separated by a “::”).
So we’ll have something like below:
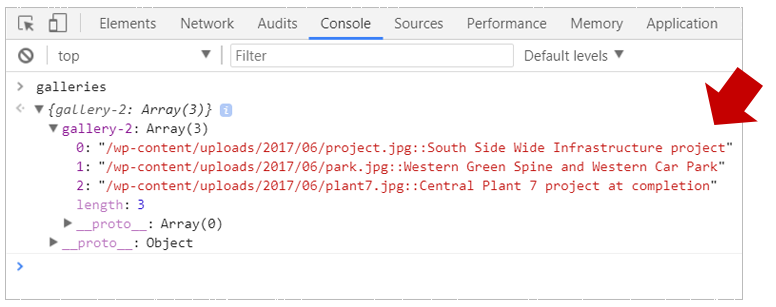
With our object in place, we can create our carousel.
Let’s create the HTML. The below code is simply HTML but using Handlebars syntax.
<script id="carousel-template" type="text/x-handlebars-template">
        <div class="carousel-wrap" data-gallery="{{gallery}}">
        {{#each imgObj}}
        <div class="boxed-style clearfix {{hiddenOrNot @index}}" data-index="box-index-{{@index}}">
        <div class="box-style col-lg-8 col-md-8 col-sm-8 col-xs-12" style="background-image:url('{{imgSrc}}')">
            <div class="triangle-left-large hidden-xs"></div>
            <div class="triangle-top-large visible-xs"></div>
        </div>
        <div class="box-style-copy col-lg-4 col-md-4 col-sm-4 col-xs-12">{{txt}}</div>
        </div>
        {{/each}}
        <a href="#" class="carousel-previous visible-xs">Previous</a>
        <a href="#" class="carousel-next visible-xs">Next</a>
        <div class="carousel-controls">
        {{#each imgObj}}
            <a class="trig"
                data-index="box-index-{{@index}}"
                href="#"><span class="fa fa-circle" aria-hidden="true"></span></a>
        {{/each}}
        </div> </div>
</script>
As you can see above, we are wrapping everything in it’s own “carousel-wrap”, with an attribute of “data-gallery”, along with the gallery index as the value.
We loop through each image and assign the values to the HTML.
We are using Boostrap col classes, and using a “background” for the image (not img tag). This makes our image behave properly in different viewports.
Note that we have “Previous” and “Next” buttons – which we’re adding for now – and will explain later.
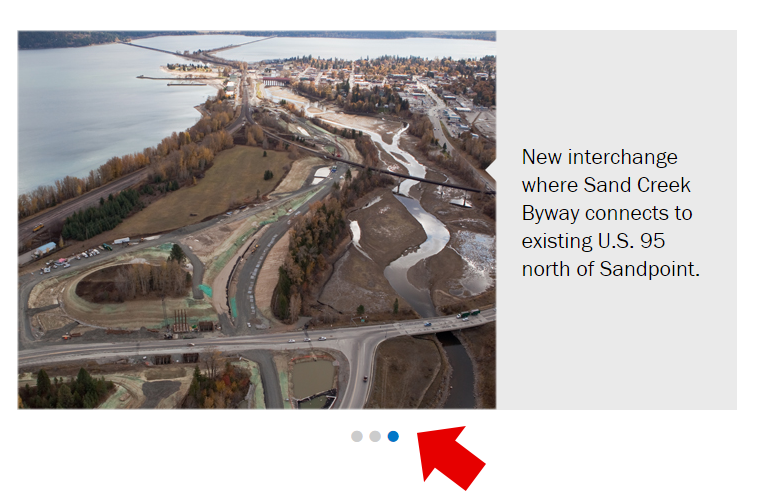
Also, we’re creating the controls in the bottom, which will look like below:
Back in our JavaScript, let’s register a helper called “hiddenOrNot” – which simply decides if it’s not the first image – hide everything:
Handlebars.registerHelper('hiddenOrNot', function(ind) {
         return ind === 0 ? '' : 'hidden';
    });
    var source   = $("#carousel-template").html();
Now let’s compile our object and output to our template.
Remember our delimiter “::”, that’s what we’re doing in line 8 below. Also, we’re binding events to each of the controls along with assigning hidden and active classes to both itself and the large images.
Finally, we remove the default WordPress gallery by using jQuery’s .remove().
for(gallery in galleries){
        // console.log(gallery);
        var col = {};
        col.gallery = '#' + gallery;
        col.imgObj = {};
        for($i=0;$i<galleries['gallery'].length;$i++){
            var imgObj = {};
            var img = galleries['gallery'][$i].split('::');
            imgObj.txt = img[1];
            imgObj.imgSrc = img[0];
            col.imgObj[$i] = imgObj;
        } //end for each img
        var template = Handlebars.compile(source);
        $('#'+gallery).before(template(col));
        $('[data-gallery="#'+gallery+'"] a.trig').each(function(index,item){
            if(index == 0){
                $(this).addClass('active');
            }
            $(this).on('click',function(){
                var imgId = $(this).attr('data-index');
                var galleryId = $(this).closest('.carousel-wrap').attr('data-gallery');
                $('[data-gallery="'+galleryId+'"]' + ' .carousel-controls a').removeClass('active');
                $(this).addClass('active');
                $('[data-gallery="'+galleryId+'"]' + ' .boxed-style[data-index]').addClass('hidden');
                $('[data-gallery="'+galleryId+'"]' + ' [data-index="'+imgId+'"]').removeClass('hidden');
                return false;
            })
        })
        $('#'+gallery).remove();
    } //end for each gallery
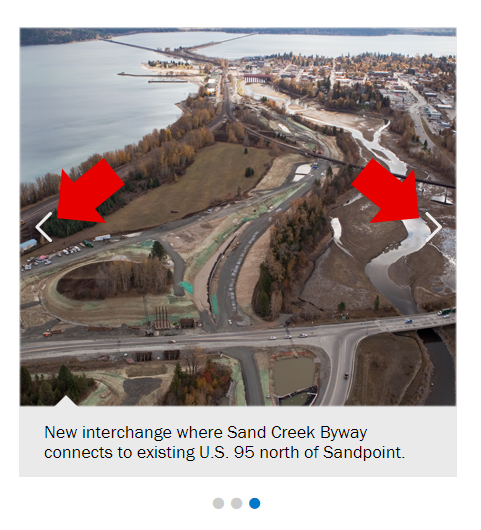
Remember our Previous and Next buttons, this is only to show up in viewports for mobile devices. That is made possible by using the “visible-xs” Bootstrap class. So, it looks like below in small devices:
Now let’s add some events to those buttons:
$('[data-gallery]').each(function(i,item){
        var previous = $(this).children('.carousel-previous');
        var next = $(this).children('.carousel-next');
        previous.on('click',function(){
            var currentGallery = $(this).closest('.carousel-wrap').attr('data-gallery');
            var previousBox = $('[data-gallery="'+currentGallery+'"]'+' [data-index="'+getCurrentBox(currentGallery)+'"]')
                            .prev('.boxed-style');
            if(previousBox.length !== 0){
                hideBoxes(currentGallery);
                previousBox.removeClass('hidden');
                updateDots(currentGallery);
            }
            return false;
        });
        next.on('click',function(){
            var currentGallery = $(this).closest('.carousel-wrap').attr('data-gallery');
            var nextBox = $('[data-gallery="'+currentGallery+'"]'+' [data-index="'+getCurrentBox(currentGallery)+'"]')
                            .next('.boxed-style');
            if(nextBox.length !== 0){
                hideBoxes(currentGallery);
                nextBox.removeClass('hidden');
                updateDots(currentGallery);
            }
            return false;
        })
        function updateDots(currentGallery){
            $('[data-gallery="'+currentGallery+'"] a.trig').removeClass('active');
            $('[data-gallery="'+currentGallery+'"] a[data-index="'+getCurrentBox(currentGallery)+'"]')
                .addClass('active');
        }
        function hideBoxes(currentGallery){
            $('[data-gallery="'+currentGallery+'"] .boxed-style').addClass('hidden');
        }
        function getCurrentBox(gallery){
            var curBox = $('[data-gallery="'+gallery+'"]' + ' .boxed-style').not(':hidden');
            var curBoxIndex = $(curBox).attr('data-index');
            return curBoxIndex
        }
    })
For each button, we’re doing some logic – each of them are in functions that we can reuse.
Finally, let’s add some CSS styles:
.boxed-style {
    clear:both;
    display: block;
    margin-bottom: 50px;
    overflow: hidden;
    position: relative;
}
.boxed-style .box-style,
.boxed-style-vertical .box-style-vertical {
    display: flex;
    flex-direction: column;
    justify-content: center;
    height: 380px;
    background-position-x: center !important;
    background-position-y: center !important;
    background-size: cover !important;
    padding-bottom:100px;
    box-shadow: inset 0px 0px 1px 1px rgb(234, 234, 234);
}
This is for the carousel itself:
.carousel-wrap {
    clear: both;
    display: block;
    overflow: hidden;
    margin-bottom: 45px;
    margin-top:40px;
    position: relative;
}
.carousel-previous,
.carousel-next {
    position: absolute;
    width:48px;
    height:48px;
    text-indent: -9999px;
    top:35%;
}
.carousel-next {
    background:url('images/chevron-right.png') 0px 0px no-repeat;
    right:0;
}
.carousel-previous {
    background:url('images/chevron-left.png') 0px 0px no-repeat;
}
.carousel-wrap .boxed-style {
    margin-bottom: 0;
}
.carousel-controls {
    text-align: center;
    margin:15px 0;
}
.carousel-controls a {
    font-size:13px;
    margin-right: 3px;
    color: #ccc;
}
.carousel-controls a:hover,
.carousel-controls a:focus,
.carousel-controls a.active {
    color: #0077C8;
}
Now you might have noticed a little triangle in our caption. This is the CSS that made that possible:
.triangle-left-large {
    width: 0;
    height: 0;
    border-top: 12px solid transparent;
    border-bottom: 12px solid transparent;
    border-right: 12px solid #eaeaea;
    position: absolute;
    right: 0;
}
Below is the finished result. In desktop and mobile view. A live example can be found here (scroll down to the middle of the page).

And that’s about it! We’ve just created a carousel without a plugin. This may be a simplistic carousel – one that can be enhanced even further. Maybe add some animations, previews, swipe events etc.
Hope you try it out in your projects. Leave your comments below.

Hello,
this is the first time that I read your blog and I find it amazing.
This is the second post of your that I’m trying but this the first one as well in which I can not put it to work.
I already tried it by putting the PHP code into de functions.php file but for some reason it’s not being shown in the single file and it does not even trows an error. Any idea what it can be? I have 3 pending WordPress updates which I have not done, may that be the reason for it?
The code above is all JavaScript. So you don’t need to edit the functions.php
I’m curious about the HTML in handlebar syntax. It’s inline, so does it go in the header or footer?
It’s wrapped inside script tags. So typically its in the footer. Although you have to make sure it’s called before you have the line to compile it.
And out of curiosity, have you tested this with Gutenberg?
I can’t get this to work for some reason. I’ve put the script in my index.php, and called handlebars from my functions. I get the following error in console:
galleries.gallery is undefined
Any idea why? Thanks in advance. If I can get this to work, it’s *exactly* what I’m needing!
I would go up the object – see if “galleries” is defined. And if not – something is not being set correctly.
Hi and thanks for this step by step custom gallery. unfortunately I am not used to implement any code except CSS. Could you eventually share a Github of this in 1 or 2 simple files for JS and CSS pls ?
By the way, is this still valid regarding the WP updates and what about the future, do you maintain this code ?