This is a tutorial on how to fetch Salesforce Data from an external NodeJS application. To be more specific, we’re grabbing records in a SF custom object via Heroku Connect. Note that Heroku Connect utilizes an internal Postgres Database, to keep a “replica” of the data in Salesforce. Heroku Connect does a “poll” of this data – keeping both synchronized.
If you haven’t heard of Heroku, head on to their site to learn more. Heroku Connect is an add-on to Heroku, which is what makes this all possible. Heroku Postgres, also an add-on – and their implementation of PostgreSQL. And of course, Salesforce is a well known CRM software – which is where our data ultimately lives. NodeJS is JavaScript that runs on the server.
We are using Node because it’s easy to work with – especially with Heroku.
The Business Case: Why would you need an “Interim” layer? Why go through Postgres first, then Salesforce? Because you certainly can do this. In our case, we have a limited license on the custom objects that we can use. So it makes sense to use Postgres for the majority of the application and use as little custom objects as possible. So designing the application in Postgres, and leave the final read / write in Salesforce makes sense.
Ready to get started? Let’s begin:
1) Create an app in Heroku
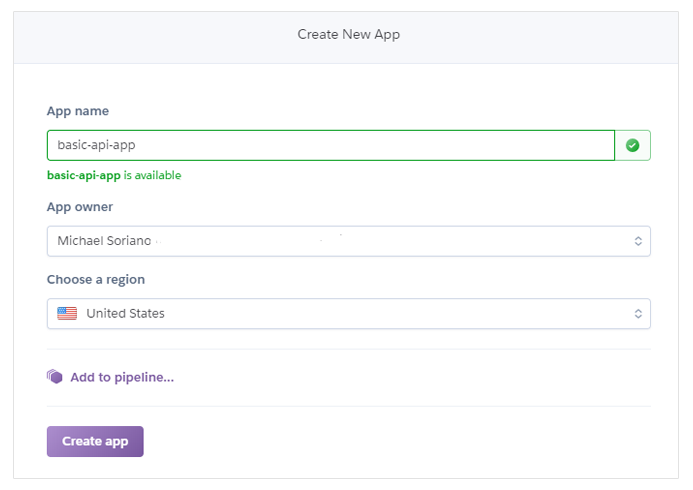
If you haven’t already done so, sign up for account with Heroku. You can get a free plan – which is enough to do this tutorial. Once signed up, go to the dashboard and create an app. In our case, we’re calling it “basic-api-app”.
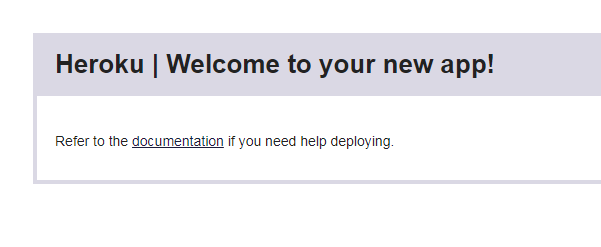
This will spin up a new “dyno” and build the necessary elements to do a basic app. Check your project in the browser by clicking “Open app”. You should see something like below:
Now let’s continue to the next step – which is to build our project in locally.
2) Build Project Locally
For building locally, you will need the following items. These are pretty common industry tools, except Heroku CLI. Heroku CLI allows us to interact with our Heroku application using our local terminal.
- Heroku CLI
- Git
- NodeJS
- NPM
Let’s start from an empty directory and initialize Heroku Git. The commands below are listed in order, but is executed one at a time. I just listed them out for brevity.
heroku login
git init
heroku git:remote -a basic-api-app
The above logs you in Heroku, initializes Git in the current directory and adds the remote repo as our origin. Note that your git repo will look like:
git.heroku.com/your-application.gitNow let’s grab the starter NodeJS pack from Heroku and add to our project.
git clone https://github.com/heroku/node-js-getting-started.gitThis will create a folder called “node-js-getting-started” inside the current directory. You can simply copy the contents of that folder (except .git) paste it outside.
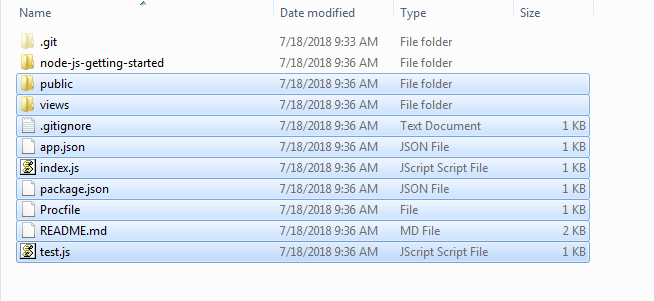
Now you can delete of the folder the starter pack came with.
Let’s go ahead and do our first commit. This adds the files to our remote repository.
git add .
git commit -m "first commit"
git push heroku master
Again the above commands are listed – but should be executed one at a time.
After the push – you should see that we have our NodeJS application running. Refresh the app url and you should see:
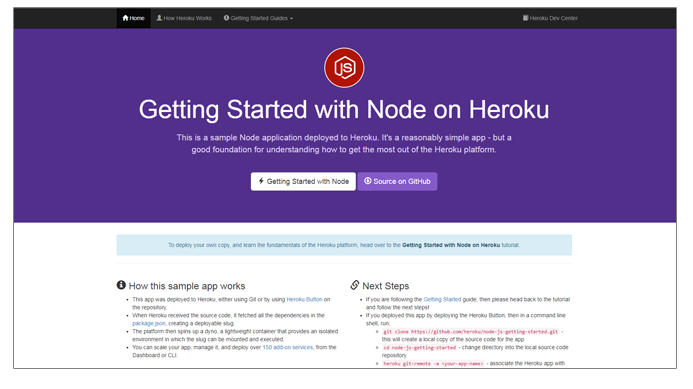
Let’s get this running locally. Let’s do the following commands:
npm install express ejs
node index.js
Open up your browser and browse to localhost:5000 – and you should see the same page that you saw above. Now we’re ready to move on.
3) Create a Custom Object in Salesforce
If you haven’t done so, sign up for a .org in Salesforce.com. This will allow you to utilize Salesforce and it’s many functionalities.
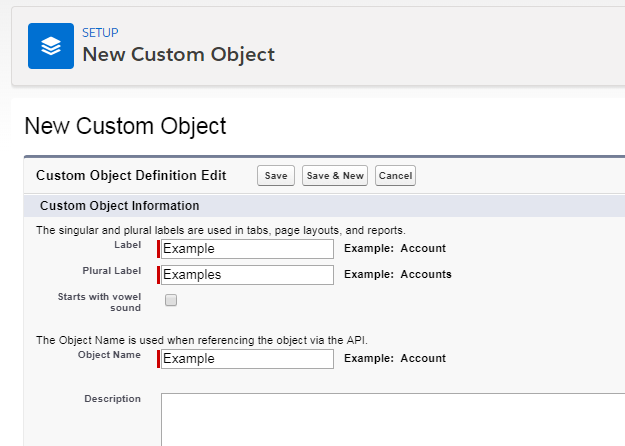
Now in your Salesforce org, let’s go to Setup > Quick find, type “Object Manager“. Click Object Manager from the search results and on the top right of the page, there is a “Create” button that will allow us to build the object we’re going to work with our application.

Now let’s create one that’s called “Example” (for lack of originality). This will create an object – with the basic fields.
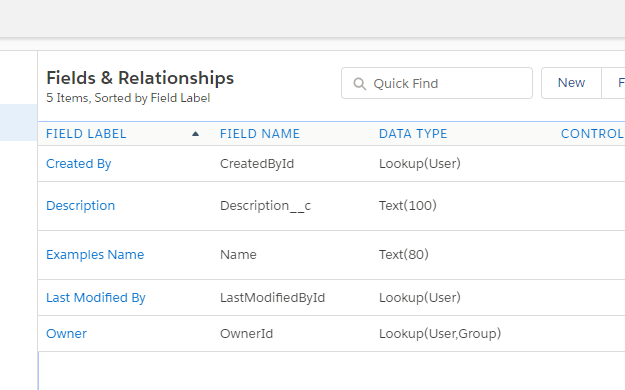
I also added another field called “Description“. So our “Fields and Relationships” look like below:
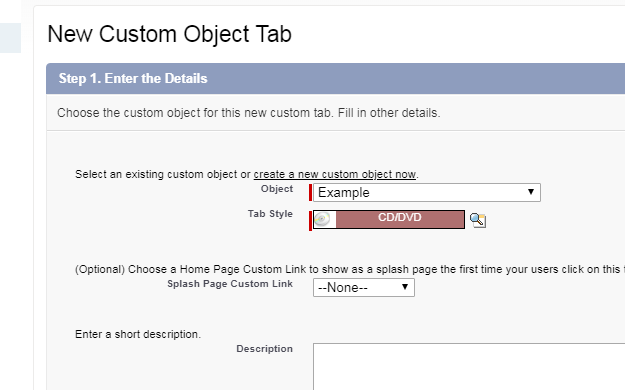
Go back to “Quick Find” and look for “Tab“. This will bring us to the “Tabs” page.
Create a new custom object tab. This will allow us to add test data.
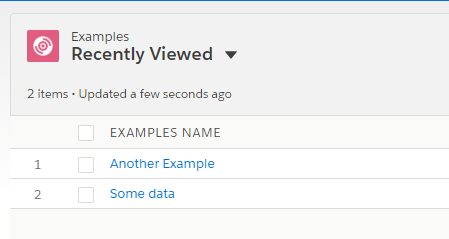
Now let’s add some test data. Get out of “Setup” and click on the new tab you just created. Add new test data and we should have something like below.
Now we’re ready for the next part, Heroku Connect.
4) Heroku Connect
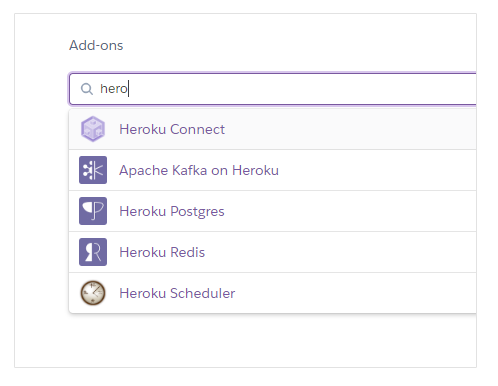
In Heroku, in your app’s dashboard, look for the spot where it says “Add-ons“. Type in “Connect” and you should see “Heroku Connect” from the results.
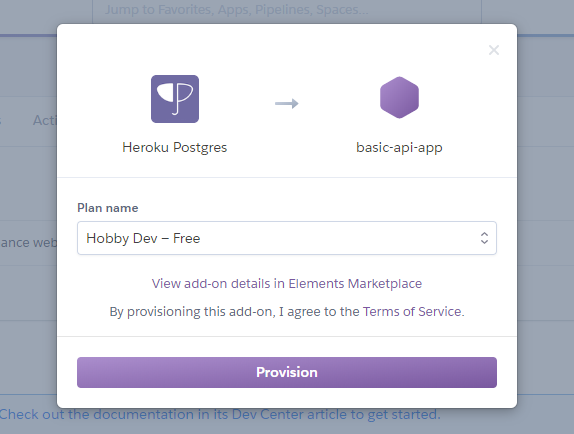
Click the “Provision” once the modal pops up. You can simply choose the “Hobby Dev-Free” plan for now.
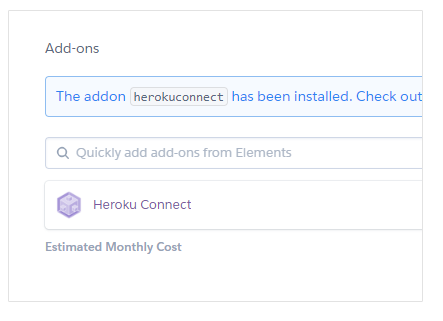
After success, you should see this in your Heroku dashboard:
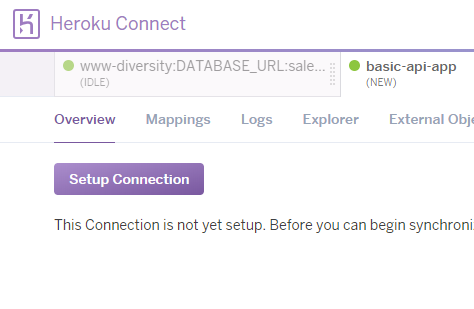
You also need the Heroku Postgres add on. Do the same steps above, but for Heroku Postgres. When everything is in place, now we can continue to setup a connection. Click on “Setup Connection“:
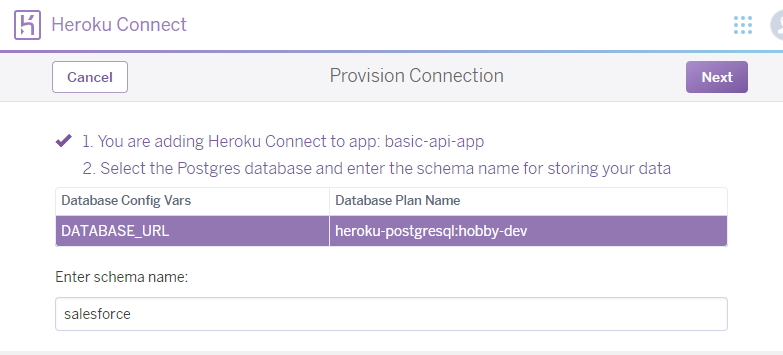
The next page simply verifies the database to use, and the schema name for your connection. Simply click “Next“.
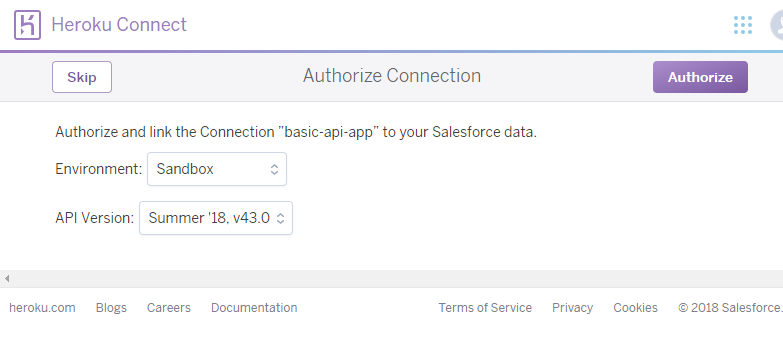
The next screen initializes the authorization part. Heroku will attempt to connect to your Salesforce. Select “Sandbox” and follow the prompts.
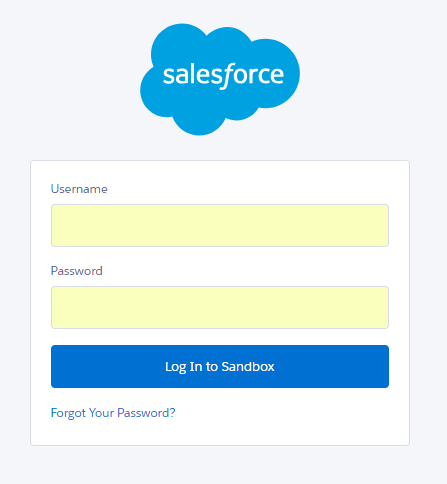
When you get to the login – add your credentials.
Once this process is complete – we should be good to go. Now we can do the real work.
Let’s create our first “Mapping“. From the list of Salesforce objects – choose “Example__c” – the custom object:
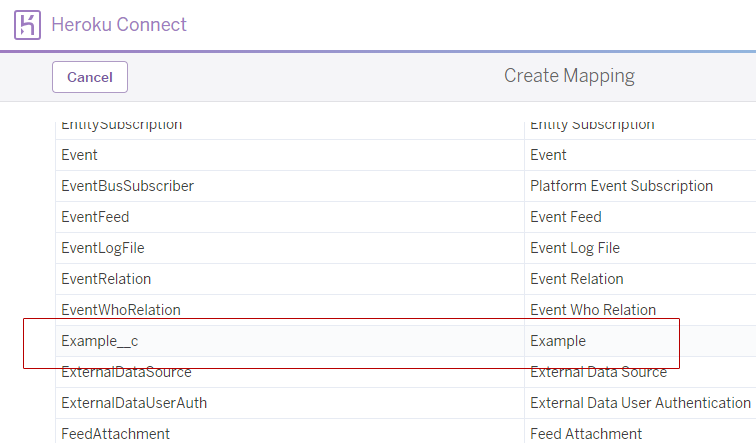
Besides the basic fields – let’s make sure we have the two fields that we need: Name and Description__c. At the moment, we’ll just focus on “Salesforce -> Database” part. Let’s get to the bi-directional style at a later time.
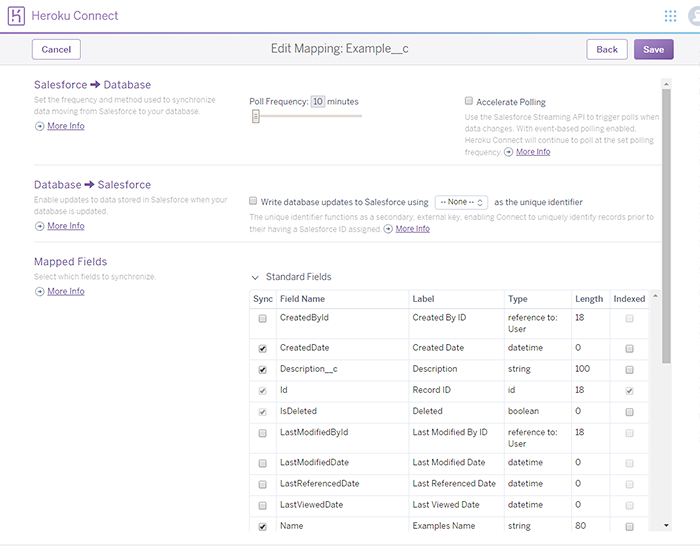
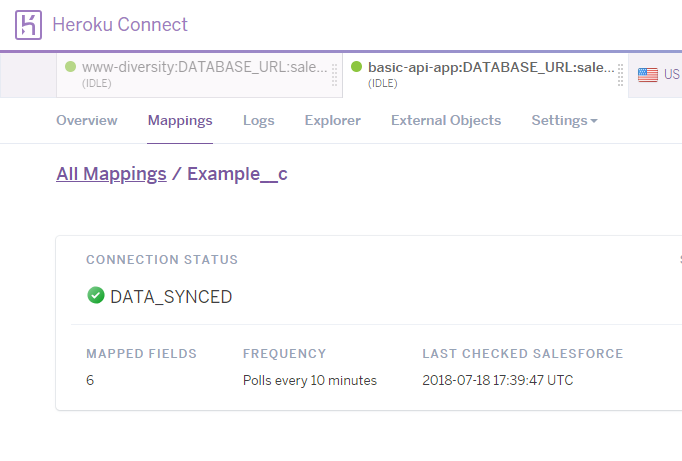
If all goes well, we should see the screen below. This shows that we’re all “Synced“.
This means that the columns in our custom object, has been successfully “mapped” to our Postgres table. It also shows that the records in Salesforce has been copied over.
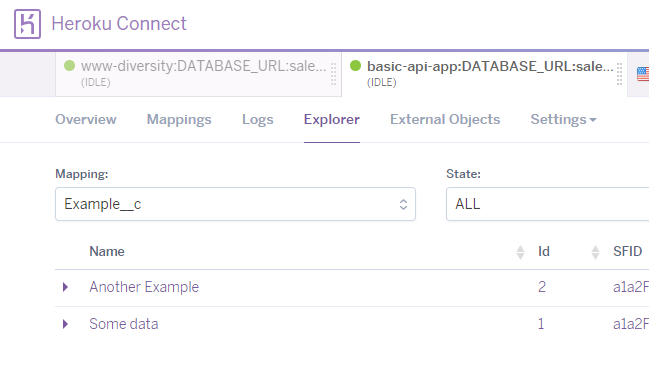
To prove this, click on the “Explorer” tab, and you should see our dummy records that we’ve entered a while ago.
This brings us to the final step. Which is writing the code that pulls this data from Heroku.
5) Access the data via NodeJS
First, let’s grab the “DATABASE_URL” from our application. You can find this under your app’s Settings > “Config Vars” section. Copy this value.
Go back to your local setup. Open the folder in your favorite text editor. Once that’s up, create a “.env” file. Quick note: a .env file is a configuration file that stays in your local setup. It is not committed to Git, and is only honored when your localhost is running (using the command: heroku local).
Open this file and add the key “DATABASE_URL” , with the value that you copied previously from your heroku app.
With this in place, we can continue to work with our application – with the Postgres database we provisioned in Heroku.
Let’s add a custom route in Express. Open “index.js” and add the code below:
const { Client } = require('pg');
express.get('/db', (req, res) => {
  //rest of the code here...
})
This simply sets up a page we can access via the “/db” route. We’re also requiring the module “pg” – which we need to install via npm:
npm install pgNow that our pg module is installed, let’s add some code inside our route handler:
var dbOpts = {
      connectionString: process.env.DATABASE_URL,
      ssl : true
    }
const client = new Client(dbOpts);
client.connect();
client.query('SELECT id, name, Description__c FROM salesforce.example__c;', (err, dbRes) => {
      if (err) throw err;
      res.render('pages/db',{
        results : dbRes.rows
      });
      client.end();
    });
client.end();
The code above sets up the options for our Postgres client. We connect, then run a simple “SELECT” statement. Inside the query function, we pass the result – as an object to the “db.ejs” temlplate that we have. Finally, we close the connection.
Note that for other database interactions such as INSERT, UPDATE, DELETE – consult with the pg module documentation.
Open db.ejs inside the pages folder and modify the code that is inside the DIV.container:
<ul>
    <% results.forEach(function(r) { %>
        <li>
            <strong><%= r.name %></strong>
            <small><%= r.description__c %></small>
        </li>
    <% }); %>
</ul>
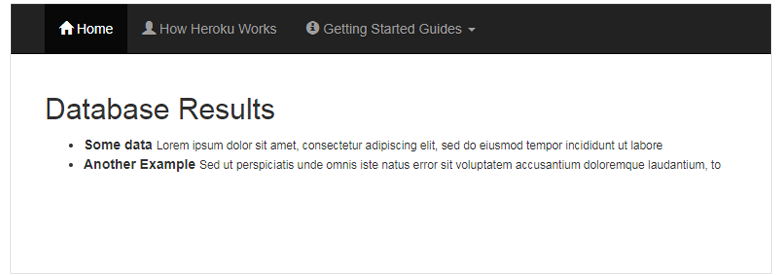
The above is a simple markup that loops through each of the items in our table and spits it out.
Finally, let’s run our code. Open a terminal and run:
heroku localThis loads the local .env file and starts up our application on the specified port. Open up a browser and navigate to localhost:5000/db – and you should see our page with the data:
Finally, let’s push the code to Heroku:
git add .
git commit -m "added more files"
git push heroku master
Conclusion
So there you go – we have a basic page that can interact with Salesforce data via Heroku. As you can see, Heroku Connect does the hard work of building a Postgres database and mapping it with Salesforce.
Once this is setup – all you need to worry about is your application and the Postgres database. The rest is done by Heroku.


const { Client } = require(‘pg’);
express.get(‘/db’, (req, res) => {
//rest of the code here…
})
how to write rest code logic to get Account data from salesforce and put into heroku