It’s been a while since I’ve written a Photoshop tutorial. I have been knee deep with developing that I forgot about my creative side. Well this time we’re creating screenshots of webpages – that have a “skewed” and “stacked” effect. I’ve seen this done in app websites that try to showcase their pages. I think it’s a great way of communicating your product – especially if your pages look good.
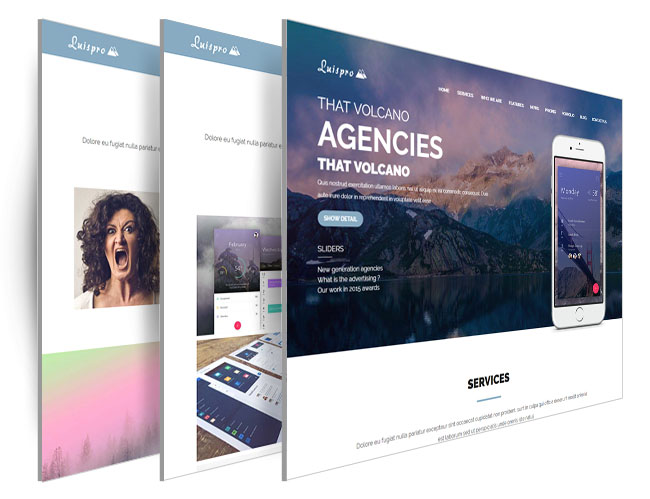
Below is how it’s going to look. You can also Download the Photoshop files if you choose not to follow.
We’re stacking the pages side by side – although you can do it top to bottom as well. This tutorial is all in Photoshop so there will be no code this time around. Also, you will notice I’m using a very old version of Photoshop (CS3). The shortcuts and menu may have changed from the newer versions – but the concept is the same. So simply adjust according to your version.
Ready to get started? Let’s begin:
The Screenshot
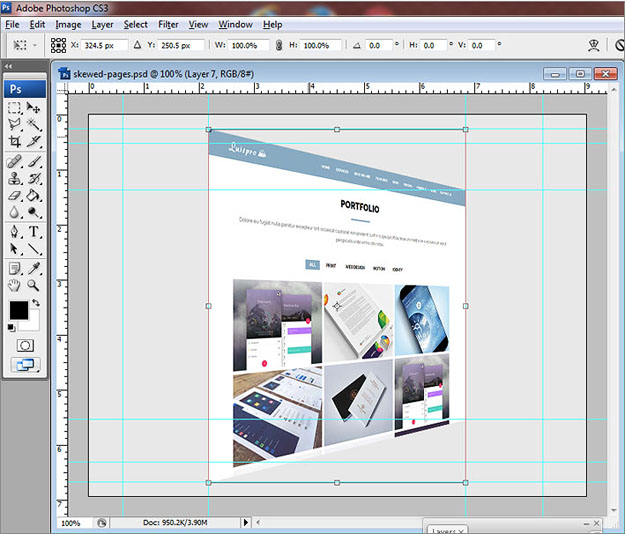
We’re going to use “Luispro” as our screenshot for our demo. Yes that was a shameless “affiliate” link. Gotta earn somehow right?
So grab a screenshot of your page, scale it to the size that you need. Place it in the center of your canvas, making sure that there is enough padding space around the edges.
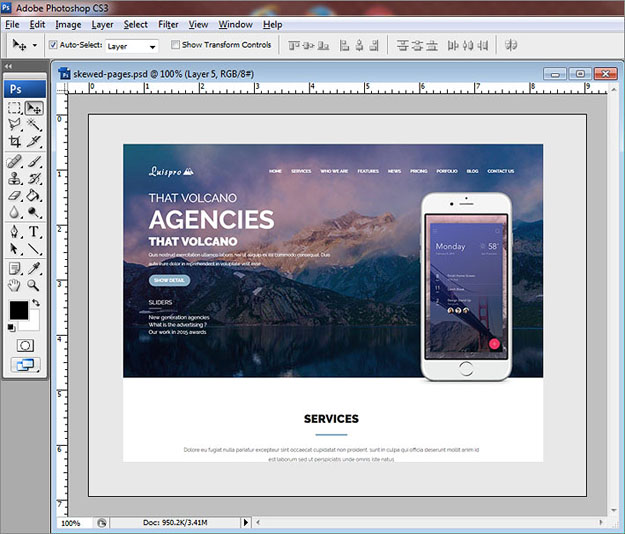
Remember, we need space for three pages – so allocate enough. Also, you will need to make your pages the same width and size – this will make your skew transform a lot easier. Don’t forget to create guides on how big your screenshot is.
Skew and Scale
There are mainly two transform options you’d want to do with your page. First “Skew”: Go to Edit > Transform > Skew.
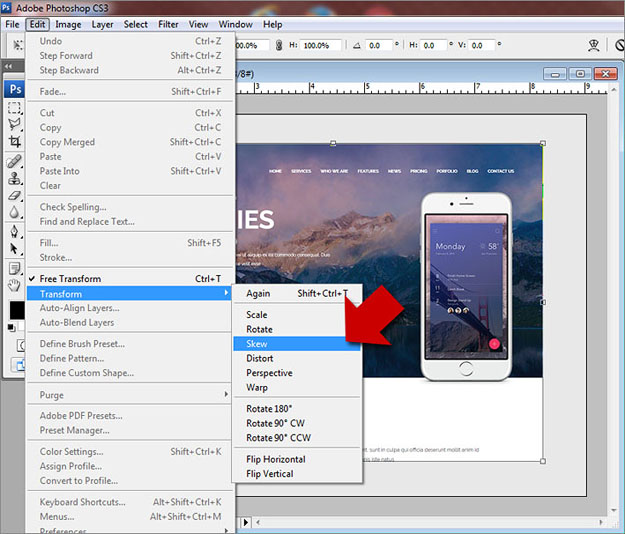
Then mouse over the handles on the right side of your page. Move it upward and downwards and see the page get skewed diagonally. Adjust one side to be about 25 percent shorter than the rest of the page.
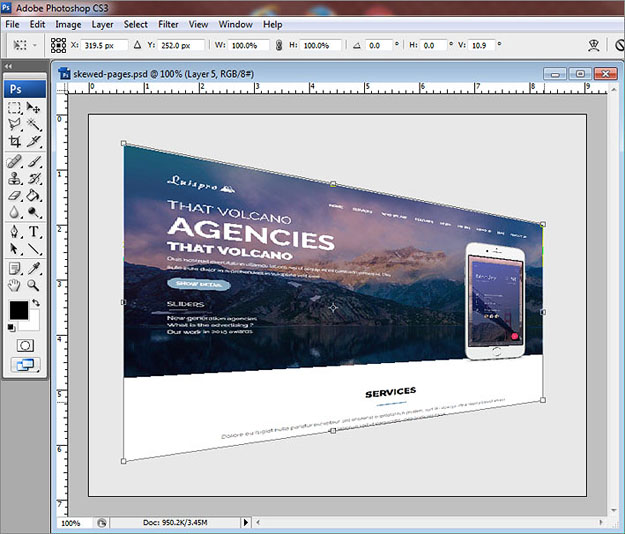
Before applying, you want to go back to Edit > Transform > Scale. This time, drag the middle handle to the right – making the page skinnier. We’re talking about 50 percent of it’s original width. Try to match how it looks below:
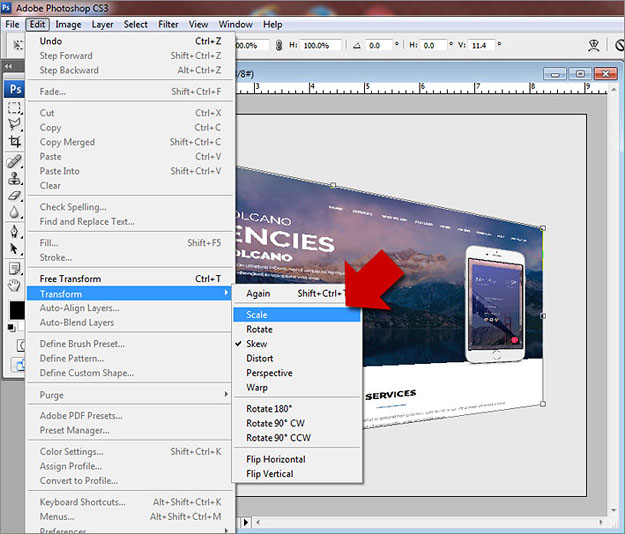
Double click your image and “Apply“.
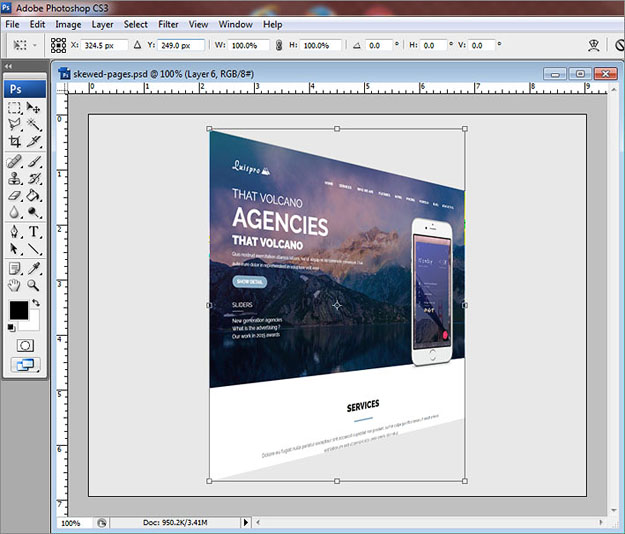
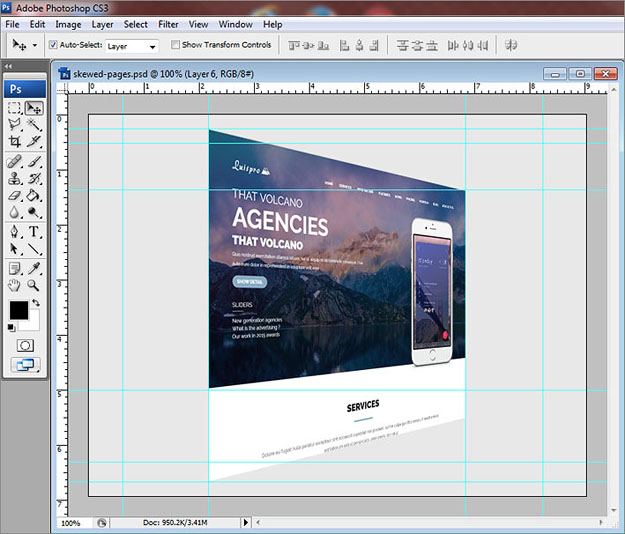
Now our page is skewed, drag new guides to where the edges are. These guides will help us replicate the same effect to our remaining pages later on.
Shadow and Depth
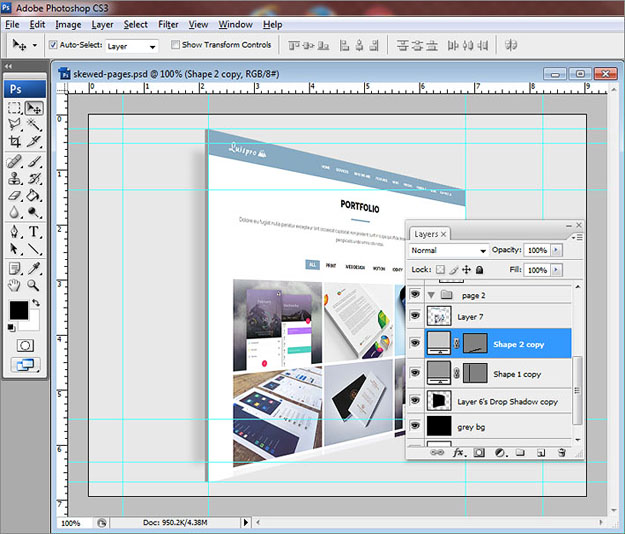
Go to your layer window and double click to bring the “Layer Style” window.
Check “Drop Shadow” and adjust the opacity, distance and size – approximately to the image below. It doesn’t have to be exact, just trust your eye and decide how strong the shadows should be.
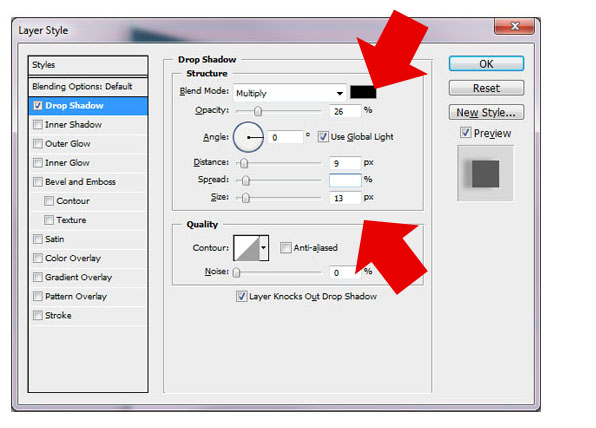
Also, the settings above will vary depending on how you stack your screenshots. Obviously if it’s top to bottom – the shadow angle will be different.
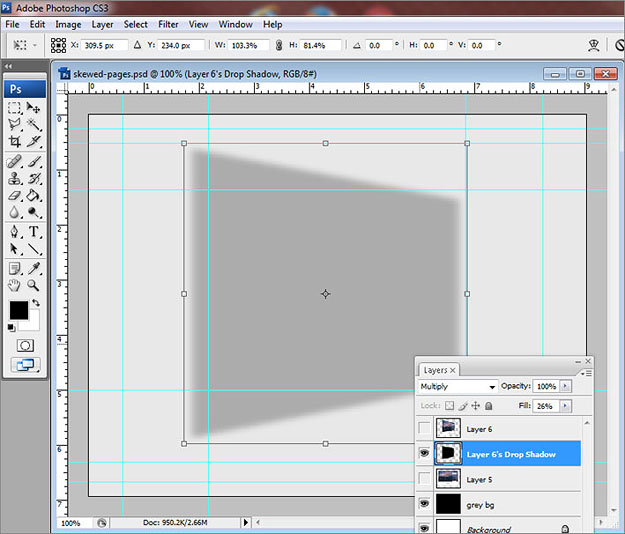
Now create a seperate layer for your layer styles. On the layers pane – right click on the layer style and click “Create Layer“. This will make the shadow it’s own layer. This allows us to adjust the fill and opacity – even re-size the shadow to show depth.
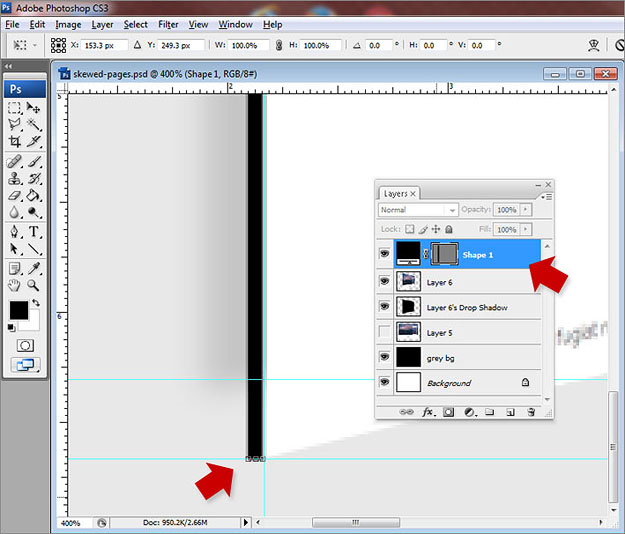
Now using the “Line” tool, drag a 5 pixel line from the left top most of the page – down to the bottom. Adjust the background color for this line accordingly. What we’re trying to achieve is to give the page a thicker feel. This will make our page look 3 dimensional.
The image below shows the original screenshot – compared to the skewed version. Notice the guides and how they’re positioned.

Now we’re ready to do the rest of the pages.
Repeat Process
I usually like to group my layers so my file is organized properly. In our case, the groups will be page 1, 2 etc. Take another screenshot and do the “skew” and “scale” process again.
Now, if you’ve used your guides properly (and accurately) – you won’t need to do the layer effects and lines for depth all over again. Simply go to your original page and duplicate those layers.
Notice the duplicate layers above for the shadow and the lines? This saves us a lot of time of doing things over, along with making sure the effect stays consistent. Once you’re done – simply nudge your groups over each other – from left to right.
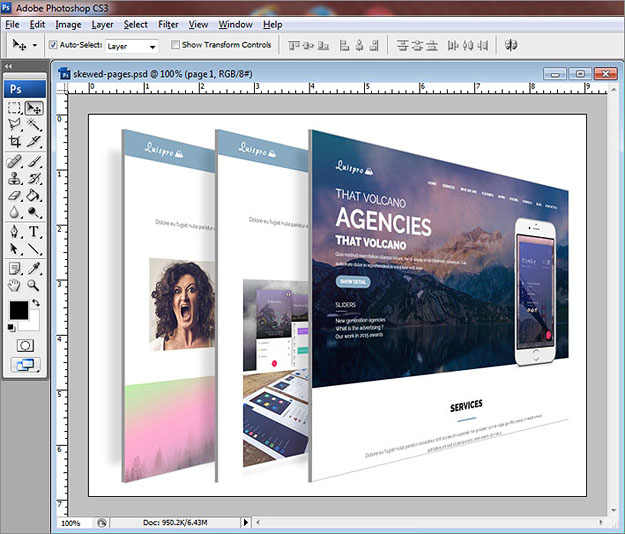
Finished Product
Below is how our pages will look once we’re done. This can be applied as a hero image, carousels or any kind of marketing material.
I’ve uploaded the original PSD file to my box.com account just in case you just want to use it instead of following my tutorial. Simply swap out the screenshots with your own. Have fun designing.